Re-lining scrim & Sarking walls
Many older New Zealand homes have scrim and sarking lined walls and we are increasingly finding ourselves with enquires about re-lining these with Gib plasterboard.
These come from a variety of sources:
Clients wanting to fit insulation to the external walls of their older villas to make them warmer. (This requires a Building Consent)
Some from people who are decorating and want new straight walls,
but more from people who are having difficulty getting full house insurance due to the scrim being a fire risk.
Here we are going to explain step by step why it is a good idea to replace this arrangement and just what is involved in the process and what the benefits are and some of the pitfalls you may encounter by doing it yourself.

Step 1
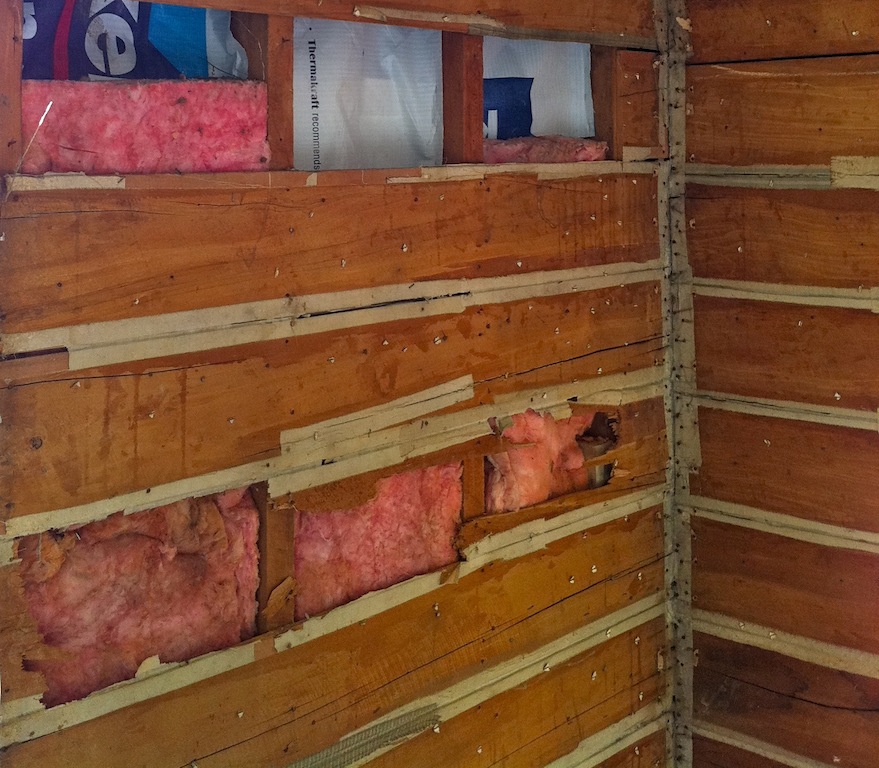
Scrim is a hessian or jute based sacking material which is fixed to horizontal planks of wood (normally Rimu) with tacks. The planks are in turn fixed to the framing of the building with nails and this forms the walls of the structure. Scrim & Sarking (as the planks are known) is found in New Zealand homes built from the time of settlement right into the 1900's. Wallpaper or sometimes newspaper is then pasted onto the top of this and the wall is complete. Over years of drying out the scrim and wallpaper become detached from the sarking and bulge and float about the surface. All three components of this structure are usually extremely dry and of course pose a very real fire risk. In addition the sarking is usually infested with borer which causes vast quantities of dust to build up behind the paper making it a further fire risk.
So it is a good idea to change this setup. Removing the scrim and wallpaper is simple. Pick it off the wall at a corner and pull. (note of caution: wear a good dust mask Rimu borer dust is going to fly everywhere) the scrim will rip off in sheets leaving the sarking behind full of tacks.

Step 2
After you have cleaned up all the dust and paper and scrim, had a cup of tea its time for the really tedious bit. Pull out all the tacks.

Step 3
Now you can remove some of the sarking in order to rewire if necessary or relocate existing surface fixed wiring.
WARNING!!! DO NOT REMOVE ALL THE SARKING OFF THE WALL. These types of buildings were constructed of green timber (wet) straight from the tree to the sawmill and onto the building site. The framing as well as the sarking. The result of this is, when the house was originally put together it was true, plumb and level. The sarking is holding all the framing straight. The timber drys out in position and stays in that position as a result of the sarking. If you remove all the sarking from the wall the posts that make up that wall will move and twist so much as to make the wall useless for relining and may compromise the structural integrity of your home.

Step 4
You can safely remove an individual board from the top middle and bottom of the wall. This will allow you to insert building paper and insulation. It also allows for the wiring of wall lights or plug points, phone wires etc.
You may now also have to remove the skirting boards and possibly the coving from around the ceiling. If you are re-lining with Gib plasterboard there may not be enough thickness available with these components to make the job look good. A lot of people (including some builders) take it up to the coving and put a square Gib angle along the top. This looks ugly and unprofessional. You have gone to all this work, you may as well do it right.
Now is the time to treat for borer. There are a number of options including borer bombs, paint on chemicals but we find that bringing in the specialist pest eradicators the best. They spray a gas into every part of the building they can get at.

Step 5
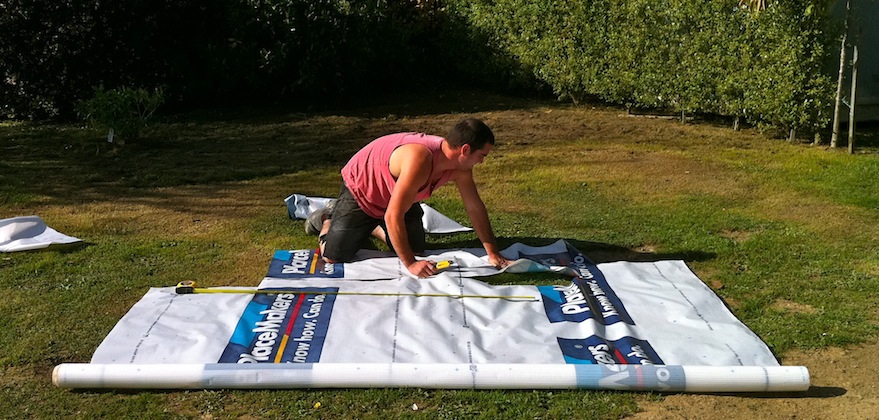
Cut building paper to width of the cavitys plus enough that it returns back towards you on each post.

Step 6
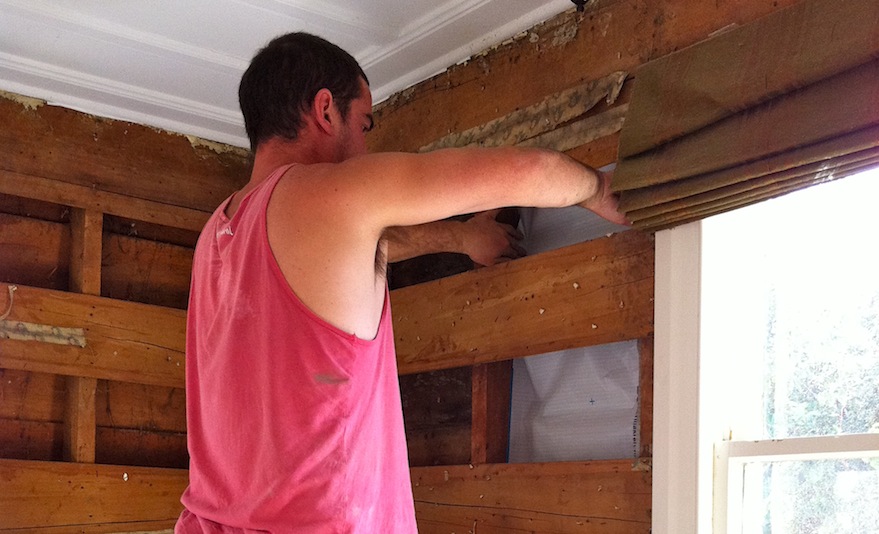
Slip building paper into cavity and staple sides to posts. You can use either the building wrap normally used for the protection of frames in new buildings which in some cases (shown here) is also a fire retardent or you can use the bitumin based black card like paper which is stiffer and fits into the cavity a bit easier (but is not fire retardent).

Step 7
Cut and fit insulation preferably R 2.6 to walls and you are ready for re-lining.

Step 8
Cut and fit Gib plasterboard directly to the sarking with wallboard adhesive and screws. Make sure and fit it tight to the door facings and trim still in place.

Step 9
Gib stop all joints and corners

Step 10
Re-fit all the skirtings or replace with new and fit coving back

Step 11
Finally paint with wallboard sealer and then 2 or 3 coats of paint and you're done.
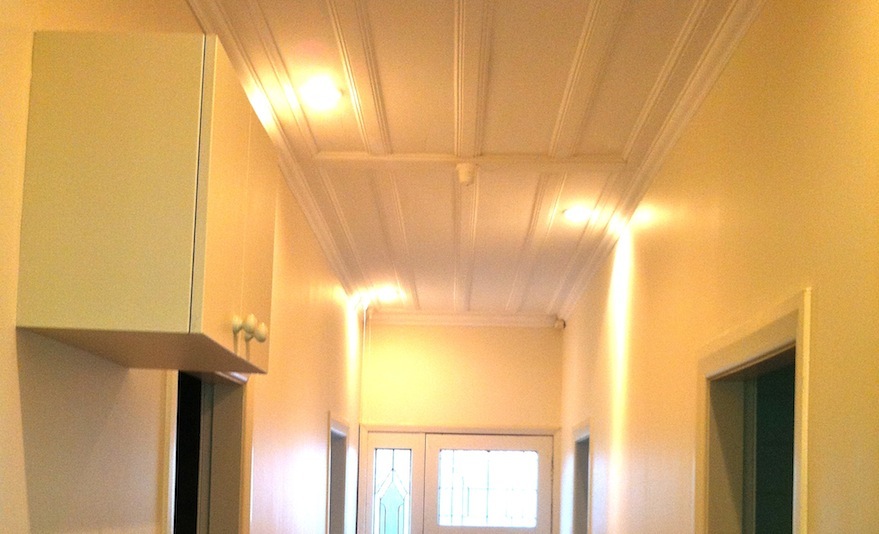
You now have a much better wall finish and more importantly a safer one.
Your walls may not be as straight as they would be in a new house perhaps (depends how good they were to start with) but remember if you have this type of setup in your home it was built a while ago. A little undulation here and there is character.


